

How to Migrate PST File to O365 with The Tool?
Welcome to MailsSoftware official website. With the use of this affordable solution, the user can upload Outlook mailbox data to Office 365 in multiple ways. Follow all these steps as per your requirement.
Step to Follow:-
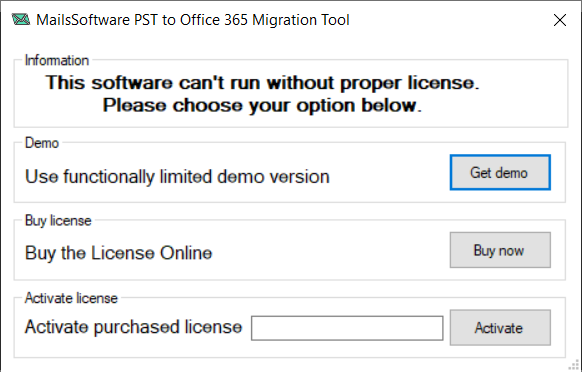
Steps:1 Download and Install the MailsSoftware PST to Office 365 Migration Tool >> Activate the Licensed Version with proper KEY.
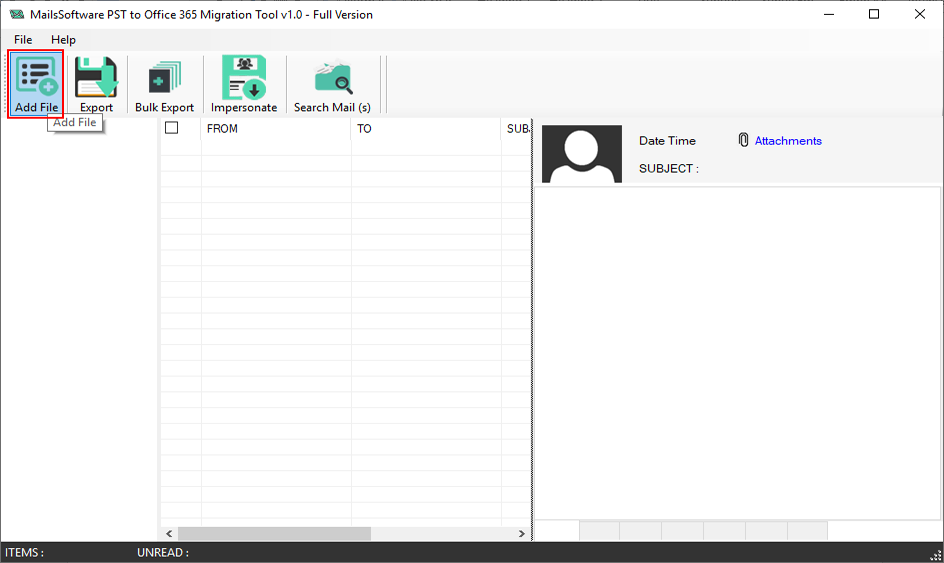
Steps:2 Click on "Add File" option to load PST file
Step:3 Select "Add File" or "Search" option to browse PST file >> Click on "Scan" button >> Click on OK.
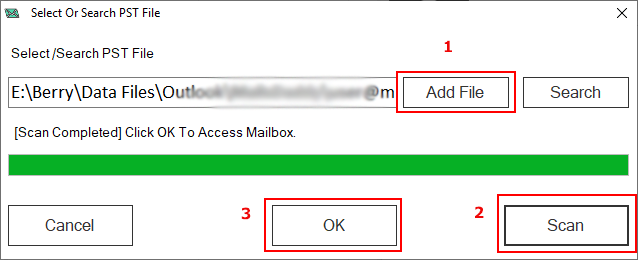
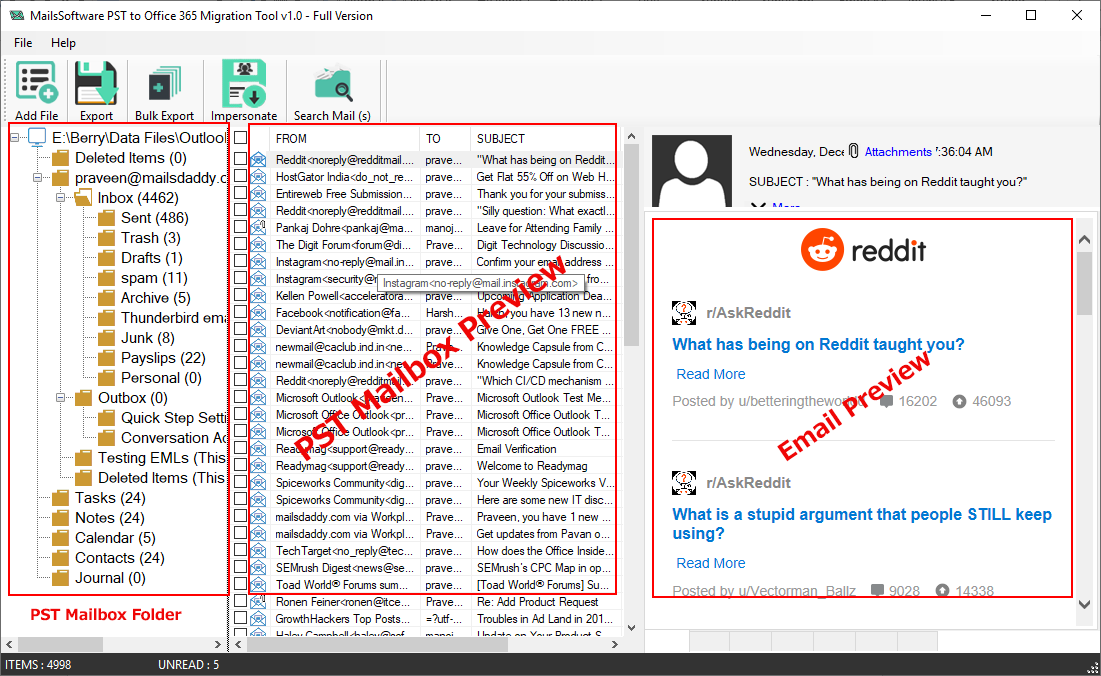
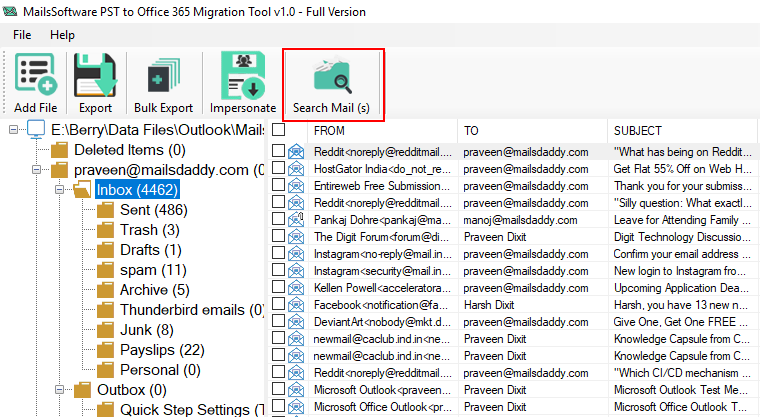
Step:4 After complete scanning of PST mailbox data, the software generates the clear preview of PST mailbox without altering the original folder hierarchy.
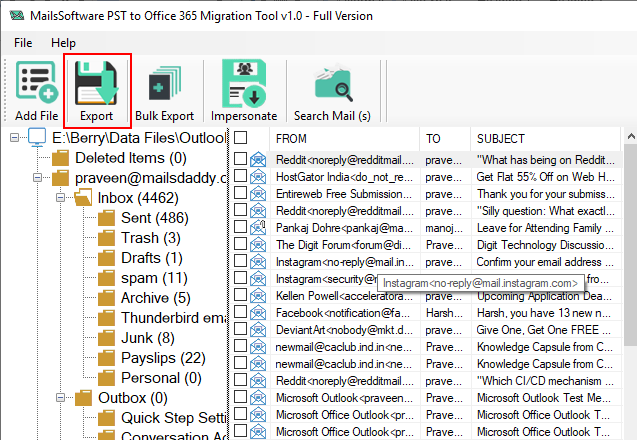
Step 1: If you are looking for single PST mailbox to Office 365 uploading, then click on "Export" option.
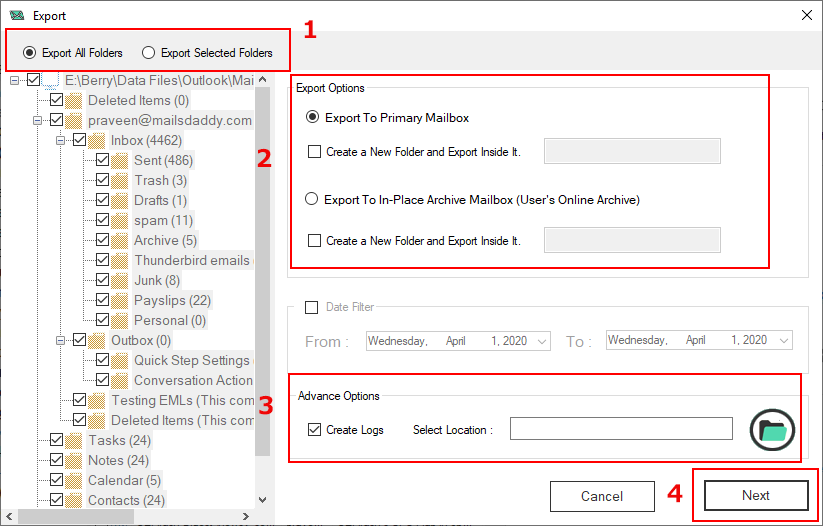
Step 2: Now you will get "Export" window. From here you can export PST mailbox data in two types -
Export All FoldersExport Selected Folders
- You can export PST mailbox data in O365 by choosing one of them option – Export to Primary or In-Place Archive mailbox >> Select any export option >> Apply Date Filter (Optional).
- There is one advanced option – Create Log file >> Provide Location to save Log file (Its optional option).
- Click on "Next" button to process.
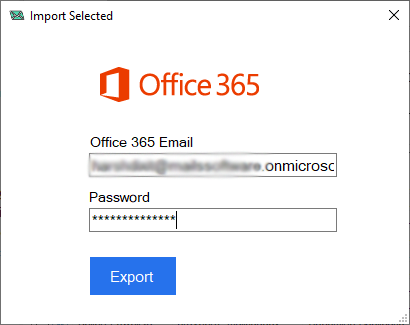
Step 3: Now provide Office 365 Login credentials.
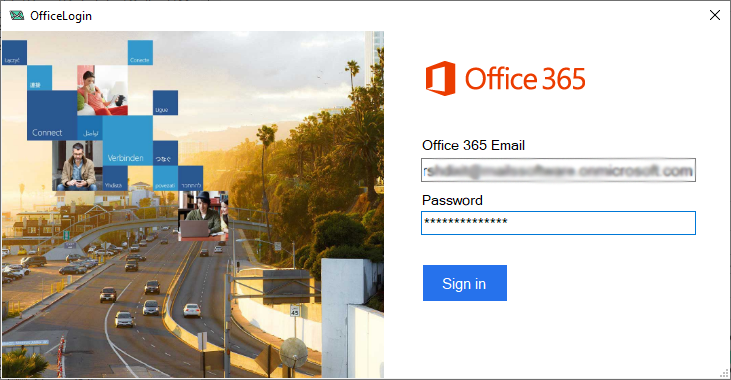
Step 3:After Office365 login, PST to Office 365 migration process will start automatically. Now you are ready to use PST in Office 365.
There is one more advanced option to import multiple PST mailboxes in Office 365. With the use of this latest PST to Office 365 migration tool, you can easily use PST files in O365 in bulk. First of all create CSV file with PST file location, Office365 Email ID and Office ID password. Follow these steps –
Step 1: Click on "Bulk Export" option.

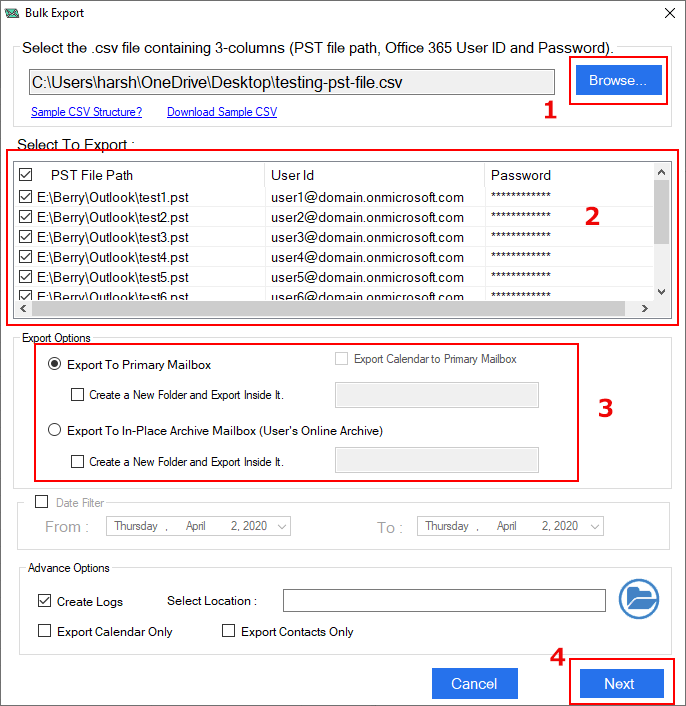
Step 2: After clicking on "Bulk Export", you will get a new window for uploading CSV file –
- Click on Browse option
- Select PST file to import in O365
- Select Mailbox – Primary or Archive mailbox >> Provide Location to save Log file (It's Optional) >> Select Contacts or Calendars to export (It's optional)
- Click on "Next" button
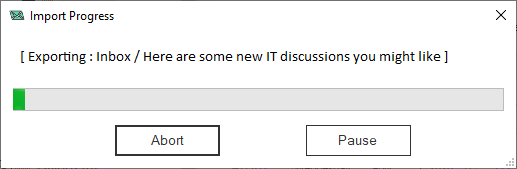
Step 3: The software will start automatically PST to Office migration process in bulk –
If you are looking for Impersonate Exporting PST to Office 365, then there is one method for the same. Create CSV file with PST file location and Office 365 Email ID only, there is no need for Password of Office Login ID. Now follow these steps –
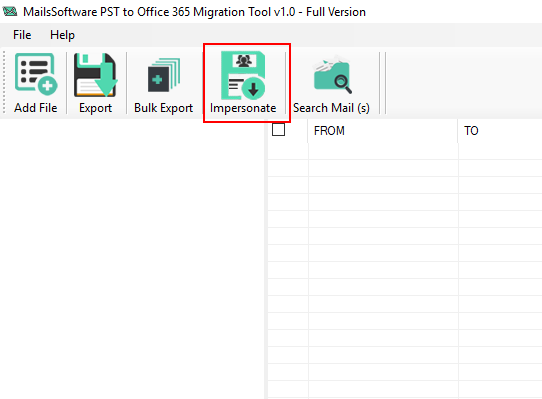
Step 1: Click on "Impersonate" option from menu bar –
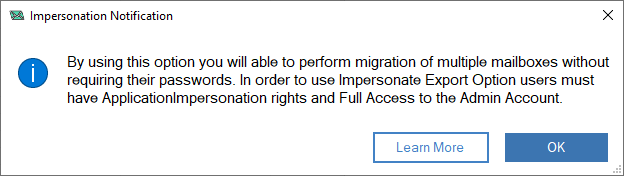
Step 2: Now check "Impersonation Notification" >> Click on OK
Step 3: Provide correct Login information of admin account or user account (Which has complete access of other account).
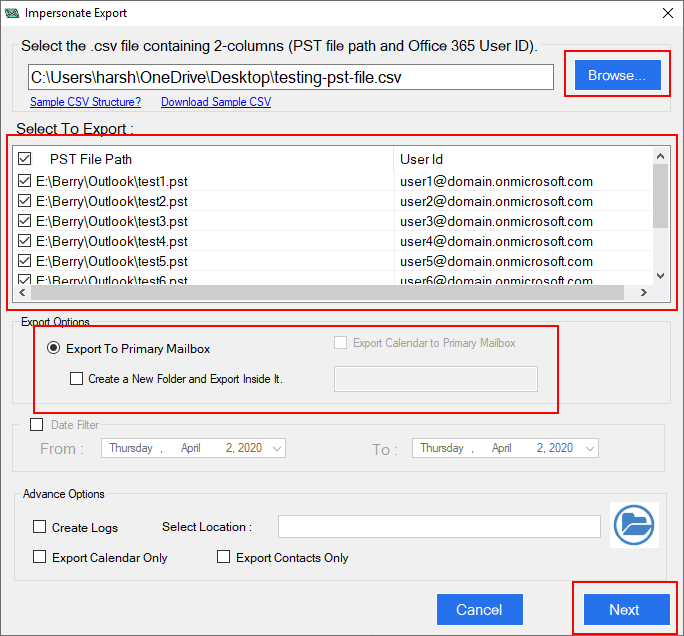
Step 4: Browse CSV file of PST information >> Select PST file >> Create New Folder in Primary Mailbox (It's Optional) >> Provide destination path to create Log File (It's Optional) >> Click on "Next" button –
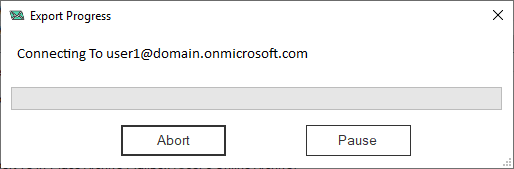
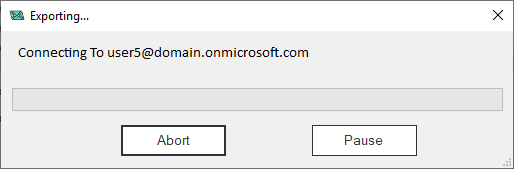
Step 5: Now you will get connecting window –
How to Search Emails in PST file?
If you are looking for particular email from PST file, then follow these steps –
Steps:1 Click on "Add file" option and browse PST file from local folder of your machine.
Steps:2 After successfully uploading PST file in this PST to Office 365 Migration tool, it will generate the complete file preview of PST mailbox >> Click on "Search Mail (s)" option.
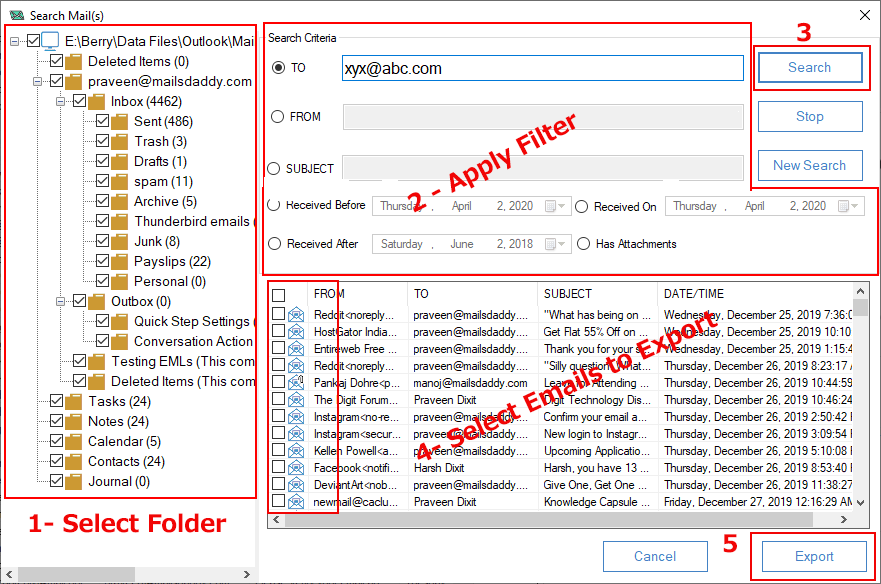
Steps:3 The software provides multiple filters to find the emails from PST mailbox. You can apply any filter to search email. Follow these steps –
- Select mailbox folder from left panel
- Provide any filter – To, From, Subject, Received After, Received Before, and Received on
- Click on "Search"
- Select emails
- Click on "Export"
Steps:4 Provide Office 365 Login Information.
Steps:5 Now you will get confirmation-message.